Creating Tables
Some tables will be immediately available such as “gender”, “maritalstatus” and “states”. You can edit these for your needs. You will most likely find other tables of information you would like to create specific to your practice.
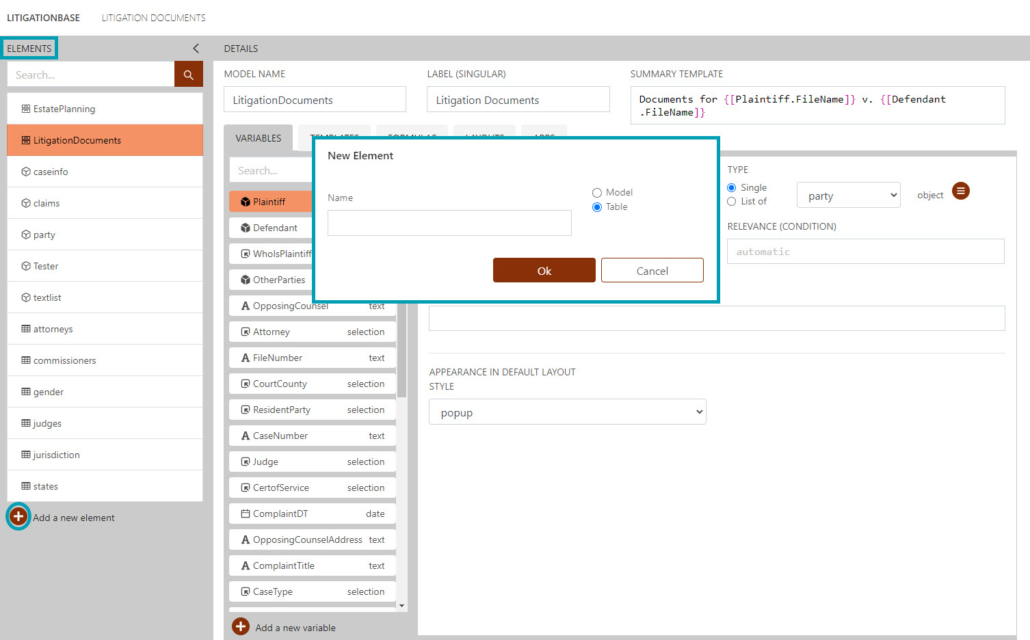
- On the Designer tab, under Elements, click on Add a new element.
- Make sure the Table radio button is selected and name your Table. Click Ok.
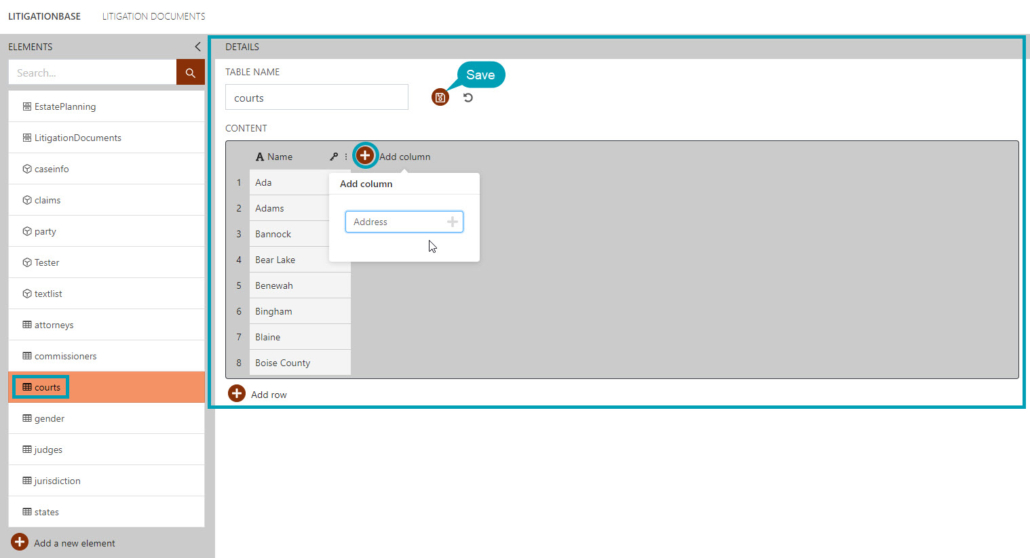
Once you have the Table created, you will add columns and rows in that Table.
- In the first column (Name) first row (1), you can use the Enter key to continue adding rows.
- To add additional columns, click Add column, Name that column and press Enter.
- When finished adding columns or rows, be sure to click Save.
Note: If you create all the columns you will need first, you can then copy and paste information from a document or spreadsheet into your table by clicking into the first cell in the first row of the table and pasting there.
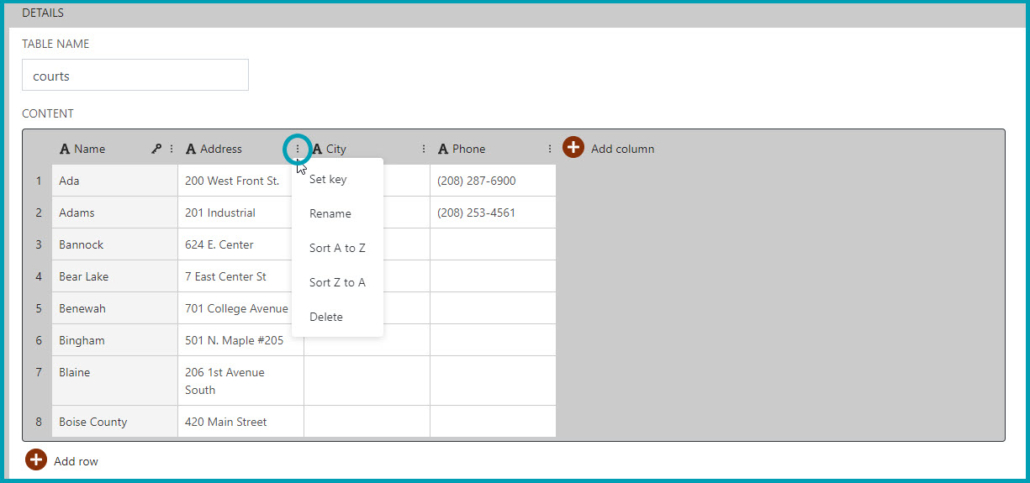
After adding columns, you can hover on the column menu (the three dots above the column) for additional options. The menu gives you the following options:
- Set key: this is the column the user will see in the app intake (the template may input information from a different column if you so choose)
- Rename: renames the column
- Sort A to Z: organize table to that column in alphabetical order, A to Z (or numerical order, lowest to highest)
- Sort Z to A: organize table to that column in alphabetical order, Z to A (or numerical order, highest to lowest)
- Delete: deletes the column immediately
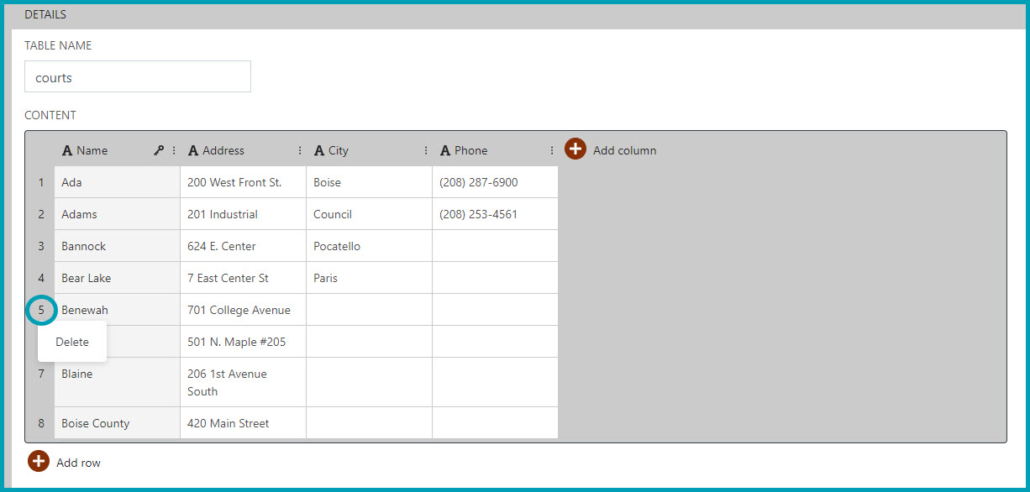
The row menu (click on the row number to access) only has a Delete option, which will delete the row and its contents immediately.